In the previous blog, we learned to create our custom package using composer. Now, we will learn: How To Publish Laravel Package On Packagist for public use?”
Table of Contents
Create your GitHub repo
First of all, you need to create your account on github.com. After creating an account, just log in to it, and you will be able to see the Repository option on clicking your profile picture.

Just select it, and you will be able to see the listing of your created repository (if already created).
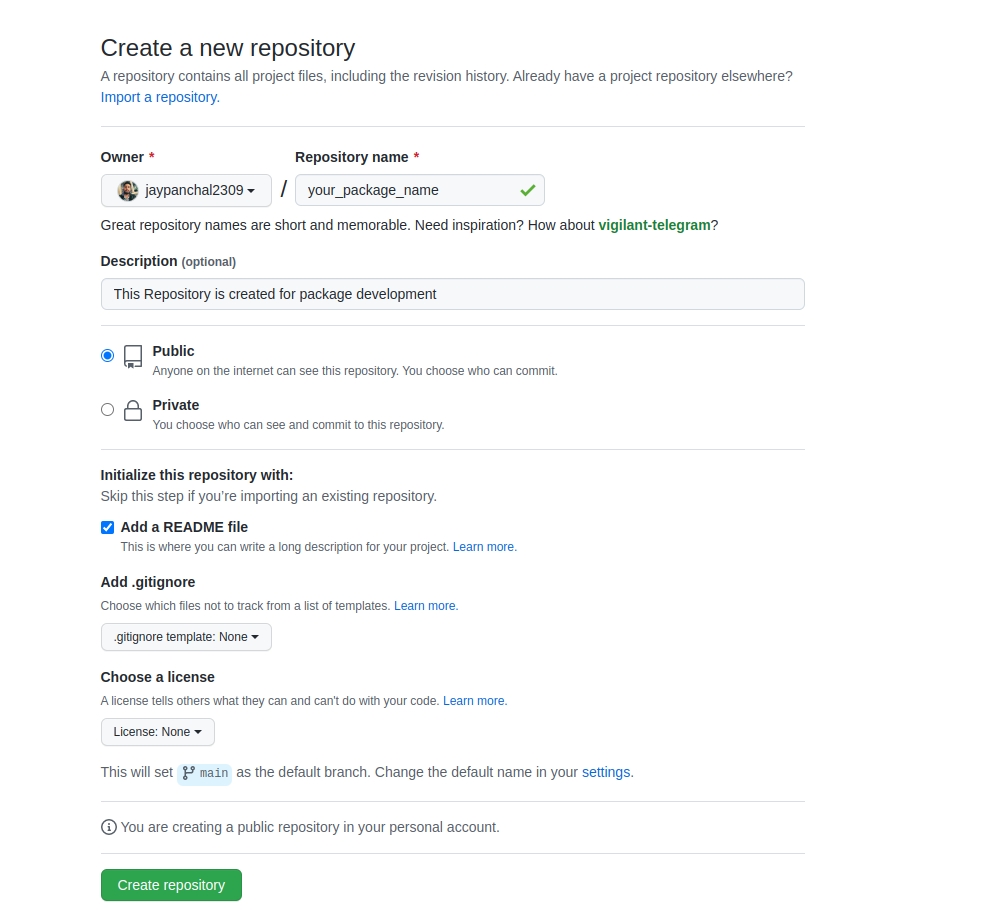
On the repository listing page, just click on the “New” button to create a new repository. Fill in relevant data and click on the “Create repository” button.

Clone & Setup your GitHub repo in your local system
After creating the repository, you can see the option to copy the clone URL here:

Just copy that URL, and run this command on your local system:
git clone [COPIED_CLONE_URL]
Now, copy your package files into the newly cloned repository folder. After copying files, your folder will look like this:

Upload your package code on your repo
Now, run the below command in the package’s root directory:
git add .
git push -u origin –all
git push -u origin –tags
Verify if your code is uploaded correctly on GitHub.

Upload your package on Packagist
Now, create your account on packagist. You can also log in using GitHub.
Now, to submit your package, click this link: https://packagist.org/packages/submit .
You just need to enter your git repository URL, and then submit the package. That’s it, other users can now use your package.
To install your package, you need to run the below command:
composer require [YOUR_PACKAGE_NAME].
In my case, I will run this command:
composer require jaypanchal/apitester
That’s it…

